Do you want to allow your guests to request services from any location on hotel grounds with just one click? Then it’s time to set up Service Requests in Qrunch!
Without further ado, let’s go straight to our easy-to-follow two-step guide on how to create custom service items and add them to your home page.
Step 1. Set up your service
To start off, log in to your account, go to the Service page and switch to the Manage Services page.
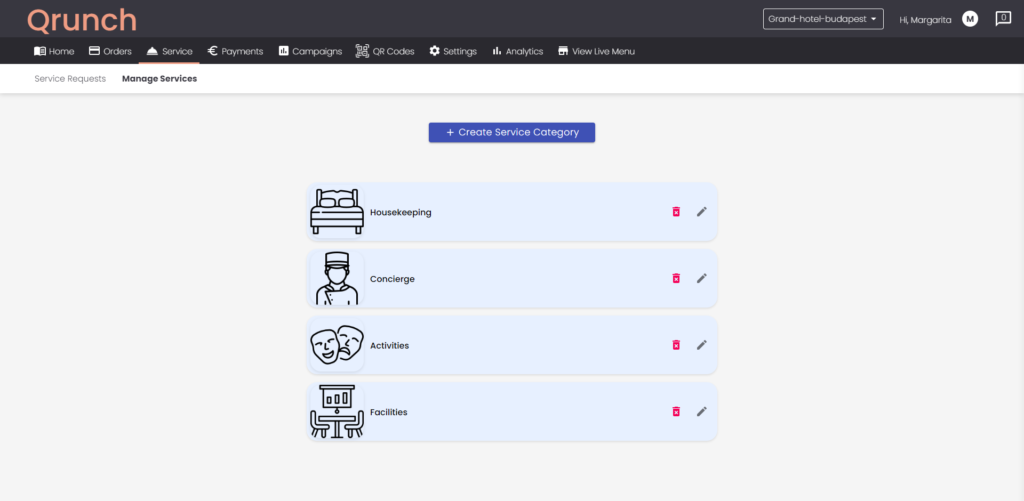
At first, there will be no service categories.
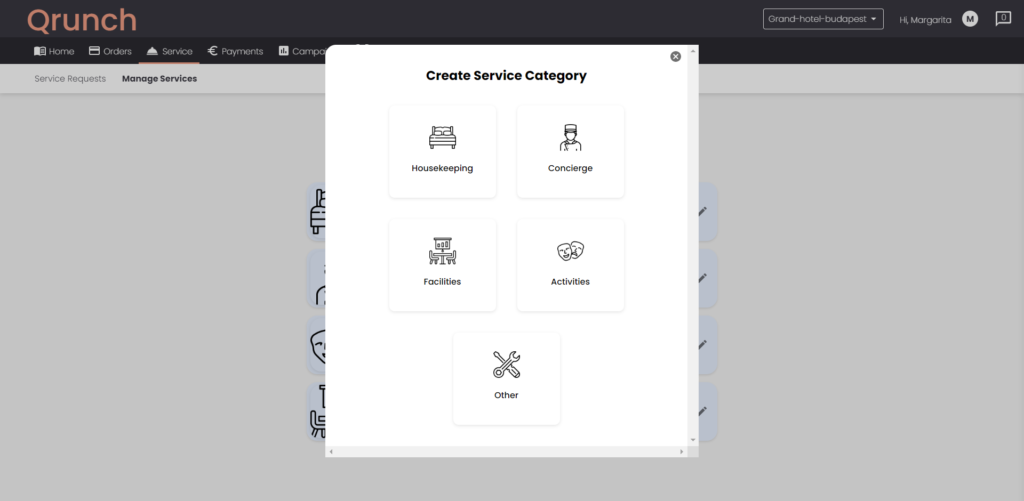
Once you click the Create Service Category button, you will see some predefined categories such as Housekeeping, Concierge, Activities, etc.
You are also free to create custom categories with the Other button.
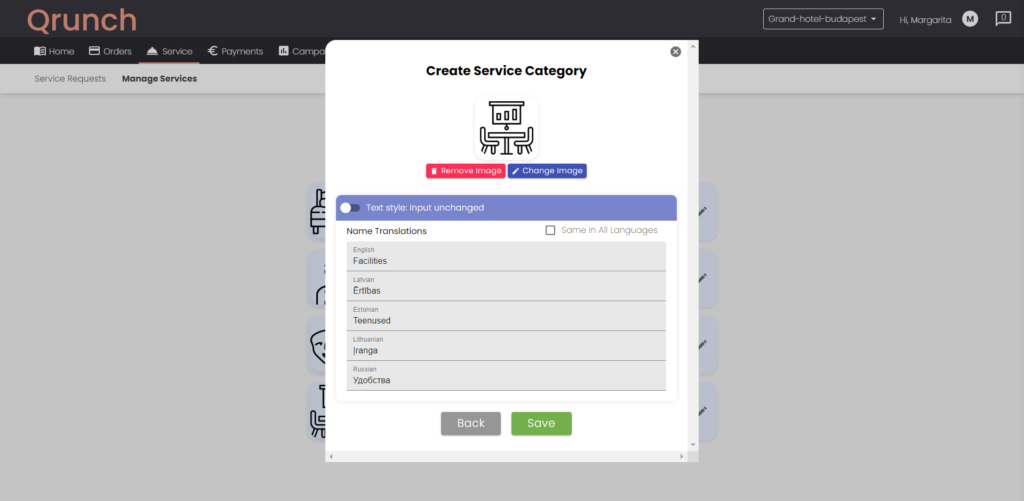
The default templates have pre-populated translations of the service’s name into the languages that are used in the hotel account’s settings.
Besides changing the name, you can also add a different image or icon that will represent the service, or you can remove it if you don’t want any logo at all!
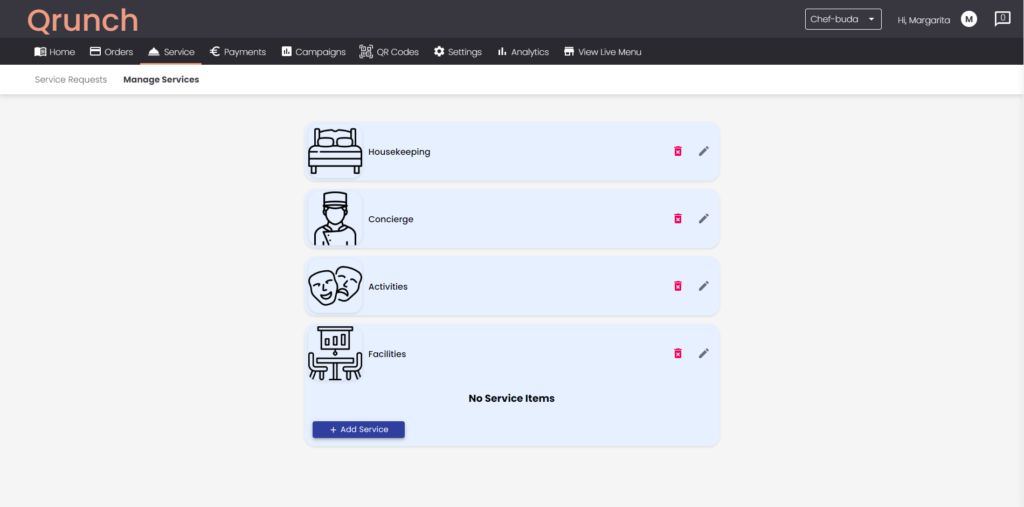
When the category is created, expand the field by clicking on it. To proceed with service items, press Add service.
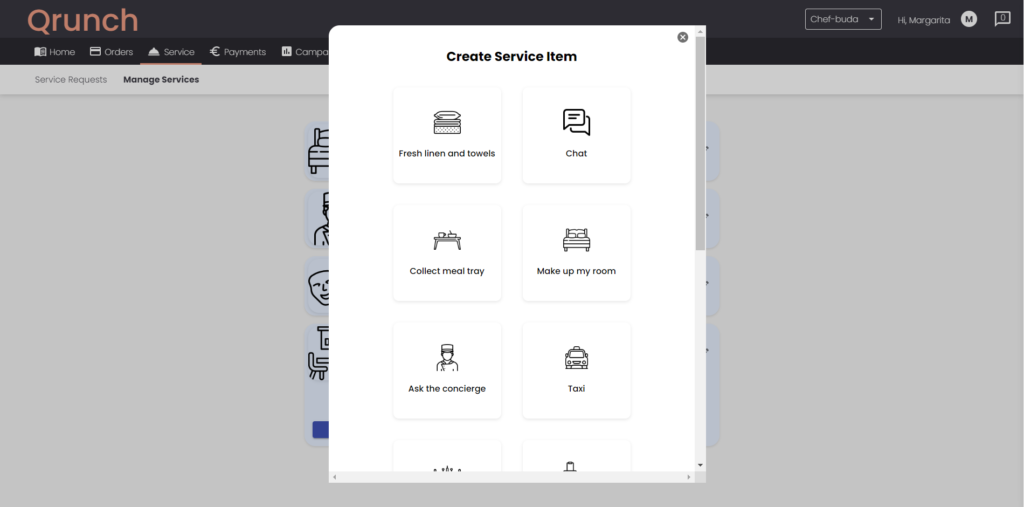
Here, either choose one of the pre-made templates for services and adjust it to the way you want it to be or create a custom service.
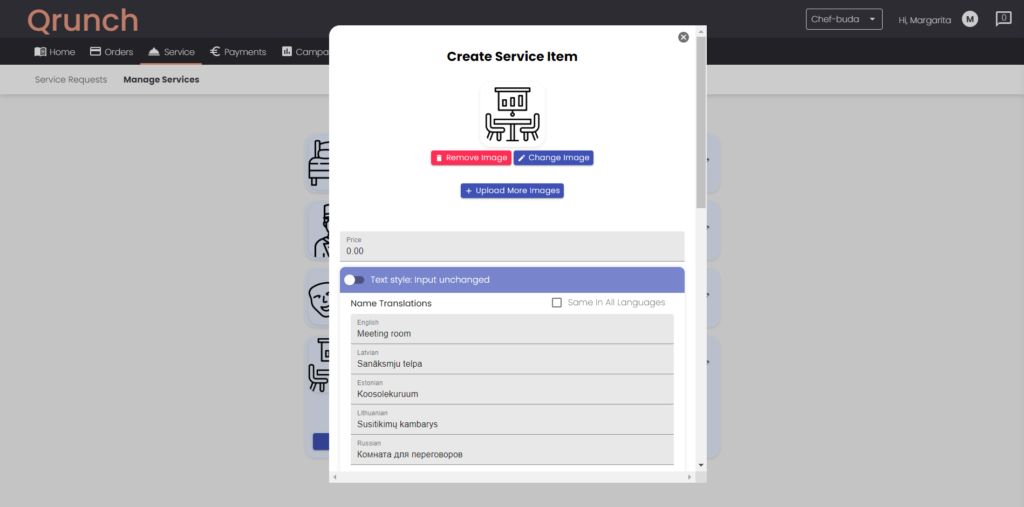
Add details about the service such as:
- Image. Note that you can also add several images which will be displayed in a slide show.
- Price. For the free-of-charge services, keep the price at 0.00.
- Name and translations.
- Description.
The next step is selecting the fields that guests will have to fill out when requesting a service.
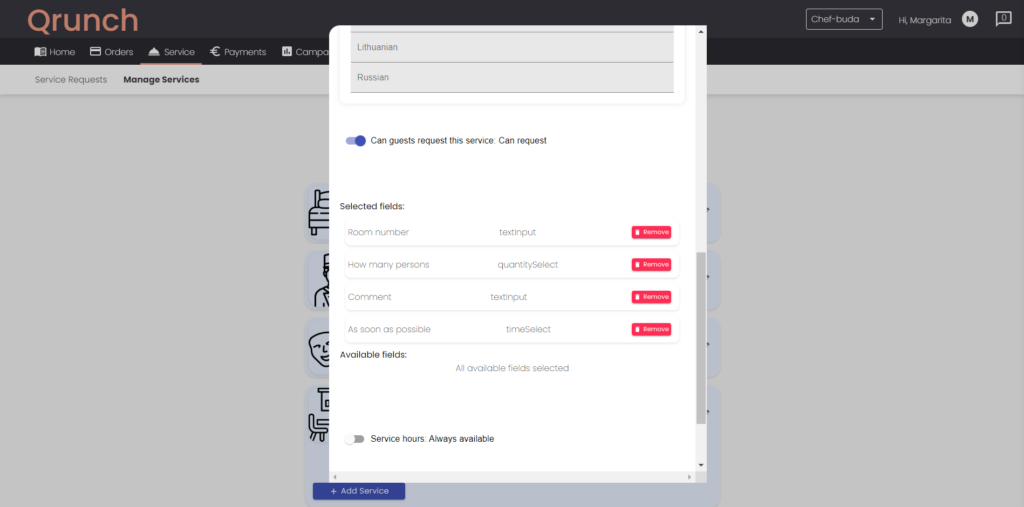
The list of available fields includes room number, number of guests, time of service, and additional comments. Adding each of these fields is optional and can be adjusted to the type of service you are setting up.
Is there a service that you would want to advertise on the homepage even though it doesn’t necessarily require booking? Here’s a tip!
Disable the “Can guests request this service” button. This way, the “View only” mode will be activated: the service will be displayed on the homepage thus enticing the guests to use it!
The next thing you need to do is to set up the service hours. By default, the service is available 24/7.
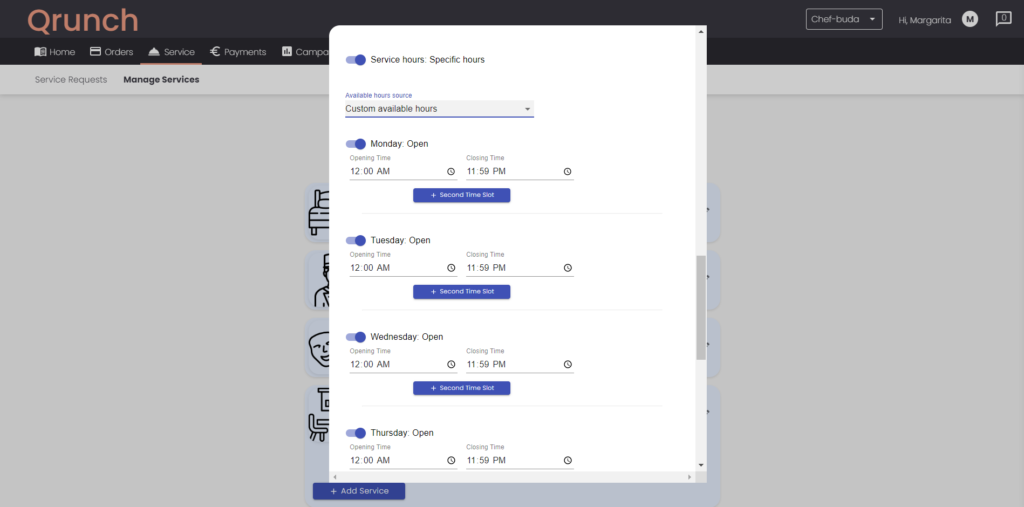
Switching to Specific hours will allow you to input custom working hours, including days of the week and one or two time slots.
There are two ways in which you can do it: set custom available hours or match available hours to a location; for example, hotel restaurant opening hours.
Once all of the steps are completed, proceed to save the service item.
Step 2. Set up your homepage
Now, it is time for the next step – making the services visible to the guests. In order to do that, first, click Home, then go to your Home Page and select location.
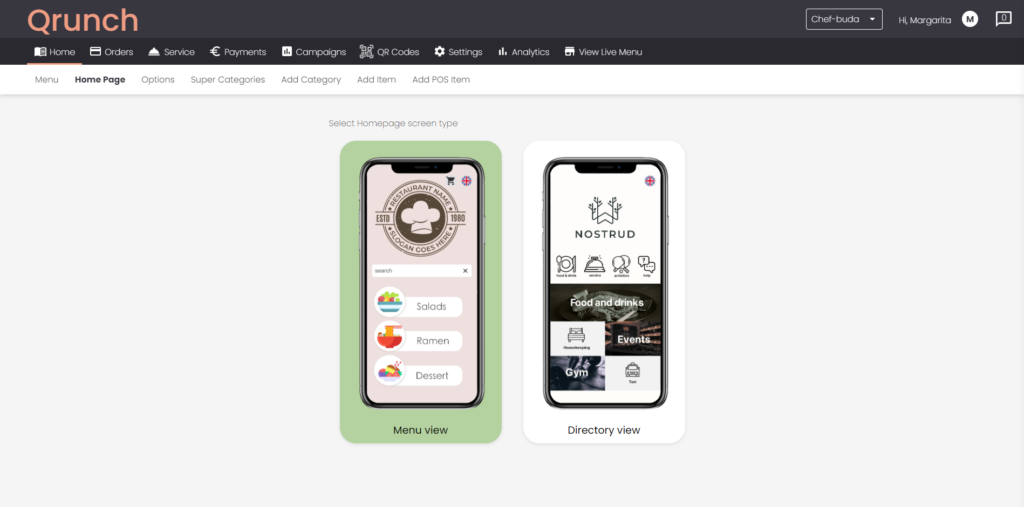
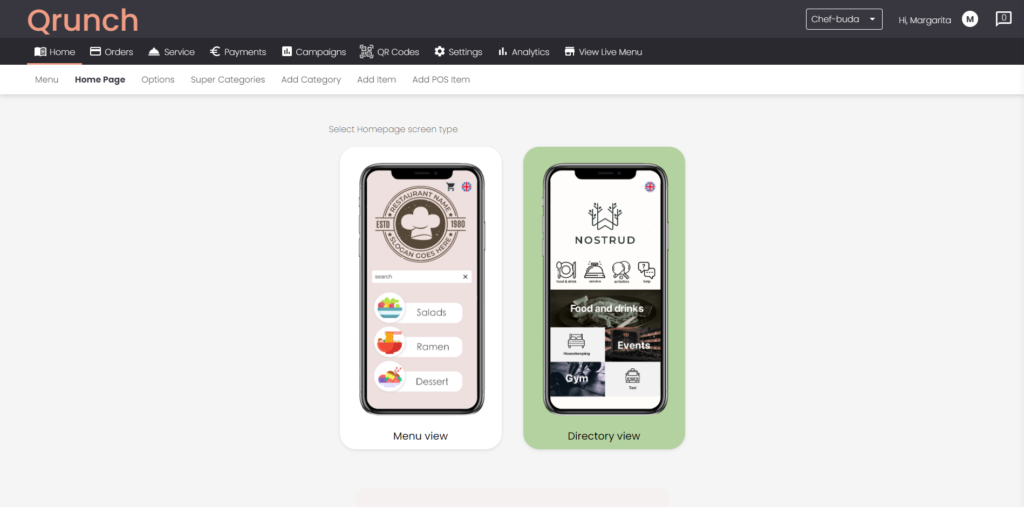
Change the Homepage screen type from Menu to Directory View – this is the page that will now be shown to users when they scan the QR code.
Note that even though the Home Page is changed, the QR code that leads to the page will remain the same. So, there is no need to reprint anything!
Here you can also play around with the design of the Homepage by picking the background and text color.

Now, start creating the homepage link. Here again, you will need to set up the link button’s image, name, and translations.
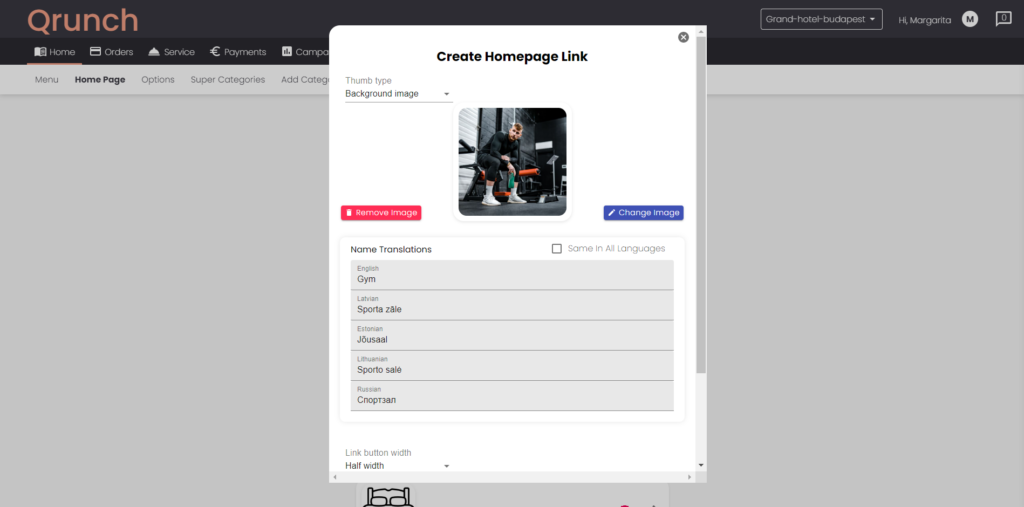
At this point, you can also pick the width of the link button. After you press “Save”, the view of the link button will be automatically enabled on your homepage.
Repeat with all of the categories that you want the buttons to link to, such as, for example:
- Services menu view showing all services.
- Specific services category.
- Specific services item.
- Food and drinks menu.
- Specific food and drink menu category.
- Specific food and drink super category.
You can always play around with the layout of the buttons and their display on the homepage by changing the ordering and the button width.
And you are done! To finish up, take a quick look through the new setup to make sure everything is correct.
If you have any further questions don’t hesitate to reach out to contact us!